
Reports give you a clear summary of all the replies and engagement you’ve done. You can share these with your clients or project admins to show the work you’ve completed.
How to Create a Report
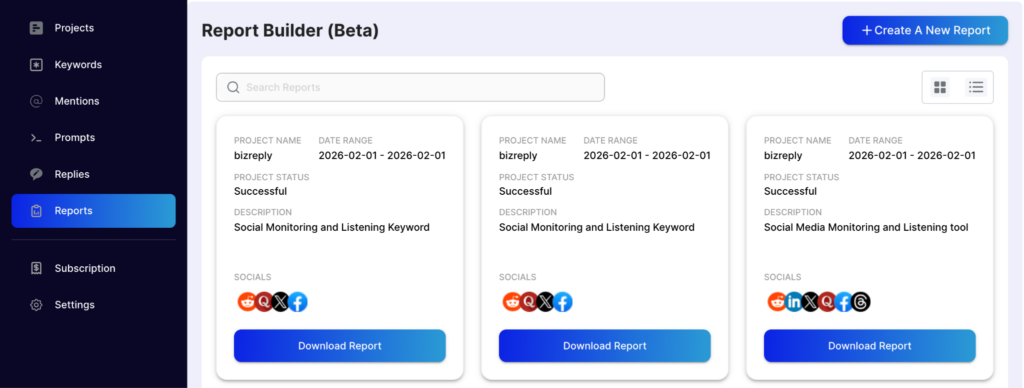
Step 1 — Go to the Reports Tab
Click on Reports from the left sidebar and press the Create Report button.
Step 2 — Filter Your Data
Choose what you want the report to include:
- Project — Select the project you want to generate the report for.
- Keywords — Choose the specific keywords you want to show in the report.
- Date Range — Set the start and end date of the work period.
- Social Media — Select which social media platforms to include.
Step 3 — Customise Your Report
BizReply lets you brand the report before sending it to a client:
- Add your company name and client name
- Upload logos for both your company and your client
- Choose a header color for the report
Step 4 — Create & Download
Press Create Report. Once it’s generated, you can download it as a PDF and share it straight away.
Pro Tip
After generating a reply in the Mentions tab, always press the Mark as Replied button. This saves your reply so it shows up correctly when you generate a report. If you skip this step, your replies won’t appear in the report.
Reports are a great way to show your clients exactly what’s been done. If you need any help generating your first report, reach out to us via the live chat or email us at hello@bizreply.io — we’re happy to help.